top of page
Screen-Accurate Tron Identity Disc Prop with Custom Lighting and Sound
Winter/Spring 2025
Highlight Reel
Project Summary
This interactive Identity Disc is a screen-accurate replica inspired by Tron: Legacy, built as a fully functional prop with synchronized lighting, sound, and motion effects, all powered by a Proffieboard v2.2.
The disc responds to real-world motion events such as swings, clashes, lockups, and blaster deflections, just like a high-end interactive lightsaber prop would. Each response triggers a coordinated sequence of dynamic LED animations and sound effects, all fully customizable through ProffieOS.
The prop features 167 high-density NeoPixels arranged across four LED segments, embedded within a 3D-printed housing that was hand-sanded, painted, and weathered for screen accuracy. Two internal speakers provide layered audio playback for ambient hums, motion-reactive FX, and looping background tracks, all configurable through a set of 15 themed profiles, including tracks from Daft Punk’s Tron: Legacy score.
Each profile contains:
-
Ignition and retraction effects
-
Background hums and looping music
-
Motion-sensitive effects like clash, lockup, and blaster deflection
-
Custom LED blade styles synced to audio
-
Unique theme, color palette, and track per profile
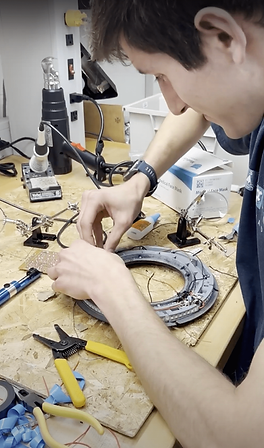
The disc was programmed using ProffieOS, with all blade styles, fonts, and profiles defined in a custom config.h file. Hardware assembly included routing over two dozen wires through the disc’s internal structure, soldering LED strips and speakers to the Proffieboard, and installing a kill switch for ease of use.
This was a deeply satisfying build, combining show control design, prop making, sound design, wire management/soldering, and embedded firmware.
Inspiration
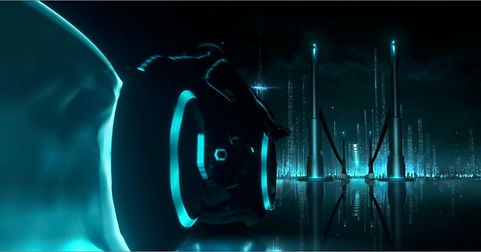
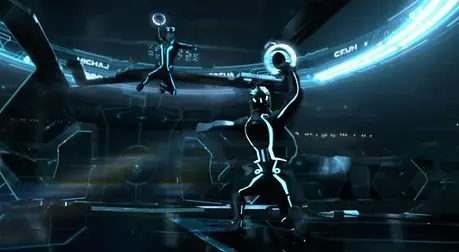
Tron: Legacy was one of my favorite movies growing up. I was instantly captivated by its glowing cybernetic aesthetic, a digital world of light trails, identity discs, and neon duels unlike anything else in sci-fi. The design language of Tron: Legacy in particular, with its minimalist visuals, synth-driven soundtrack, and iconic props, left a lasting impression on me.


With the release of Tron: Ares on the horizon and the opening of Tron Lightcycle / Run at Disney World, the franchise is having a bit of a resurgence. Both served as reminders of just how compelling the world of Tron is, and how little we’ve seen it explored in high-quality prop builds.


While the lightsaber community has set a high bar for screen-accurate, motion-reactive props using LEDs and soundboards, there’s no equivalent Tron Identity Disc commercially available at that level. The most well-equipped prop disc would be the one found in the gift shop at Walt Disney World, which only has a few LEDs and minimal interactive features.


This project was about proving that it can be done. I wanted to take the same standards set for top-tier saber builds and bring them to Tron, creating a disc that doesn’t just look the part, but functions with the same kind of synchronized light, sound, and responsiveness as seen in the film.

Programming the Disc
A Proffieboard V2.2 was used to control all the lighting and sound effects. All that's needed to start programming the board is to download their open-source software called ProffieOS, as well as the Arduino IDE.

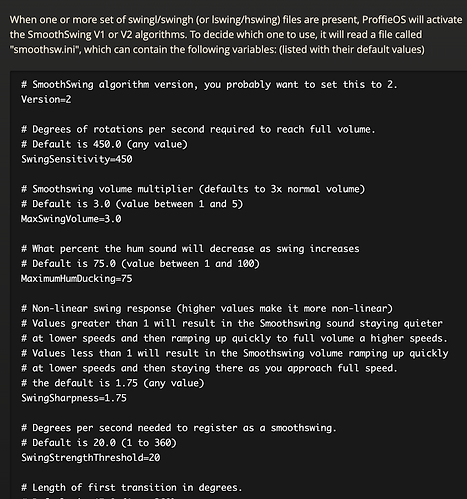
ProffieOS takes care of much of the low-level nuances of controlling the accelerometers, amplifiers, and other components on the board. The only thing necessary for the user to do is create a configuration file. This let's ProffieOS know how many LEDs there are, where to find certain directories for audio files, how sensitive you want the movements to be, how to light up the LEDs, and even do things like say how much battery is left.

Due to the limited RAM on the board, an SD card is used to store all the audio files. ProffieOS has a specific naming scheme for each type of sound effect, which lets it know exactly what to play on the SD card.
Some sound effects include background hums, clash sounds, blaster deflections, slow and fast swinging sounds, ignition sounds, and more. These are all organized into folders corresponding to the mode, or "profile" you want that type of sound to play in (for example Kylo Ren lightsaber sound effects would be found in his Kylo Ren profile folder).
A unique aspect of sound effects on this board is that it dynamically changes the pitch and volume of its swinging sound effects using what's called the "smooth swing algorithm". This makes the disc react in real time to even the most subtle of movements, adding to its realism.

Example Sound Effects
(Click to Play)
Tron Hum
00:00 / 00:17Tron Swing
00:00 / 00:02Kylo Hum
00:00 / 00:17Kylo Out
00:00 / 00:02Kylo Lockup
00:00 / 00:11
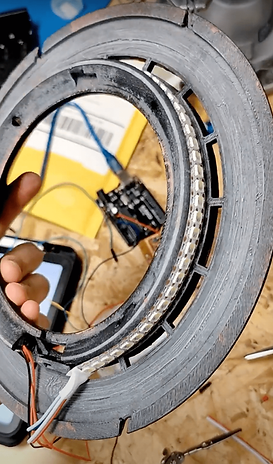
Paired with each audio profile are different lighting animations called "blade styles". Typically, the board only controls one LED strip for the blade of a lightsaber or two if it's a double-bladed lightsaber like Darth Maul's. I needed to control three LED sections: the outer blade (97 LEDs), the inner C-ring (66 LEDs), and the inner-knub accent lights (4 LEDs). This meant I needed to control three PWM outputs of the four available on the board.
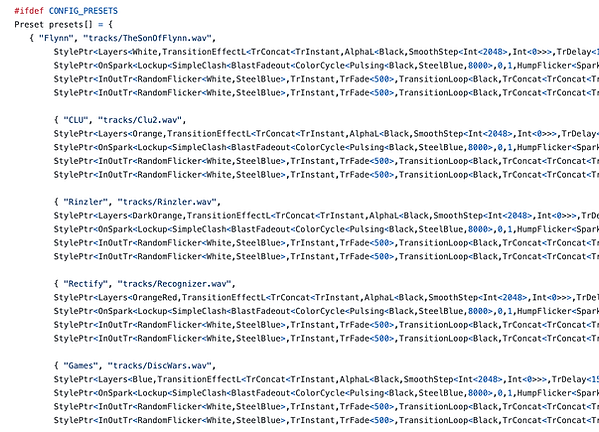
Blade styles are described in the configuration file, which tells ProffieOS what kind of colors, flickering effects, fire effects, or ignitions and retractions are needed to pair with their corresponding audio effects. It may look complicated at first, but luckily there's some websites that will let you design visually what you'd like the LED strip to look like, and then have it generate blade style code to paste into the configuration file.
In the end I made 15 different profiles, where changing between profiles is signaled through audio queues and changing the color of the inner c-ring. The inner-knub accent lights pulse ambiently, and the outer blade turns on when the ignition button is pressed.
Two buttons, the ignition and auxillary button, are all that's needed for switching modes, powering on and off the outer blade, triggering blaster deflections, and even playing soundtracks from the film in the background.
Profiles:
-
Flynn – The Son of Flynn
-
CLU – Clu Song from Soundtrack
-
Rinzler – Rinzler’s Pursuit
-
Rectify – Recognizer / Control
-
Games – Disc Wars Arena
-
Electrify – Derezzed (Daft Punk)
-
Maggie – Custom profile for friend
-
Irish – Victory March
-
Cyber – Fall
-
Masterless – Encom II
-
Magnetic – Nocturne
-
Decay – Flynn Lives
-
Dark – Mandalorian (Bonus FX)
-
Kylo – Dual if the Fates FX Saber
-
Rave – OIIA (Disco Blade Mode)


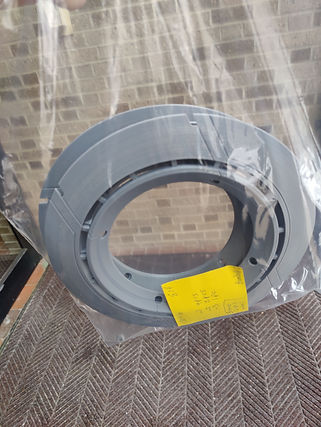
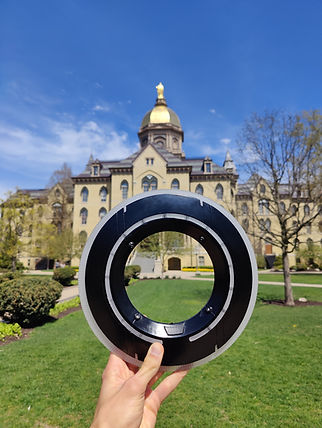
3D Printing, Sanding, Priming, and Painting
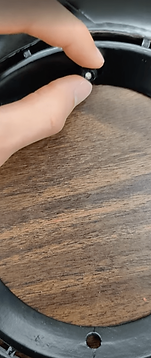
To make the disc look as realistic as possible, I researched various prop making techniques to give the disc the semi-gloss smooth black look from the movies.
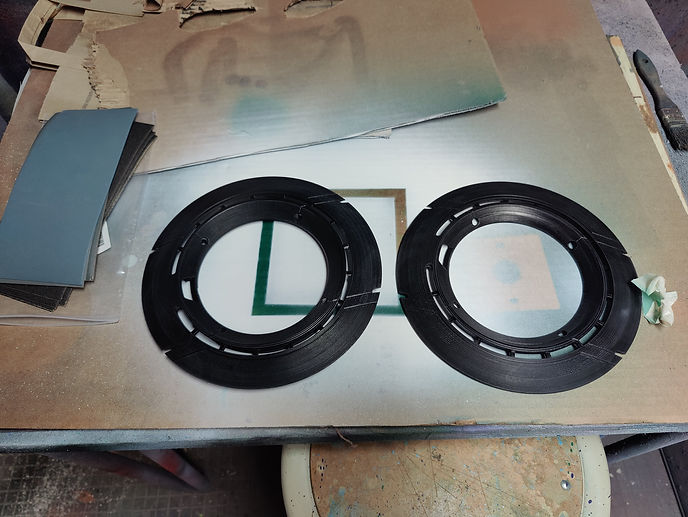
Using a high-resolution 3D model of the disc I found online, I printed it out in PLA using the 3D printers in my University's maker lab.

Then, I spent about an hour sanding the disc, going from 140 grit to 800 grit sandpaper incrementally. This got rid of any major layer lines from printing.
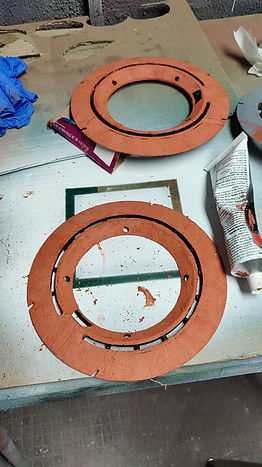
To seal the layer lines even more, Bondo Spot Putty was smeared onto the disc, and allowed to dry for an hour. Then, the putty was incrementally sanded until smooth, and is rinsed under water to remove any dust particles.


After the disc is dry, Rustoleum FIller Primer was evenly sprayed on the disc, which fills in any small rough patches left over.

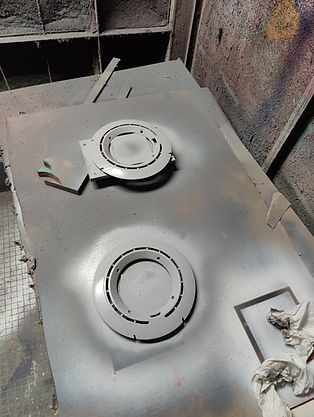


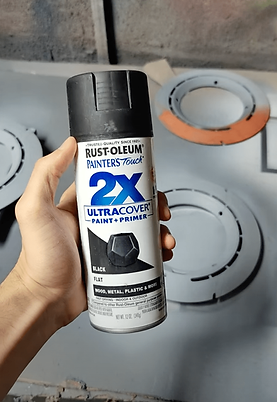
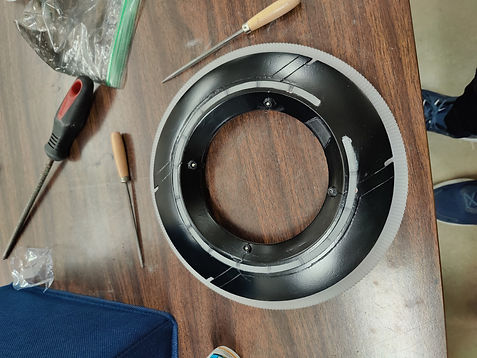
After drying for 48 hours, it's rinsed under water again before applying black spray paint to give the disc its final color. The buttons and accent lighting pieces were also painted at the same time.


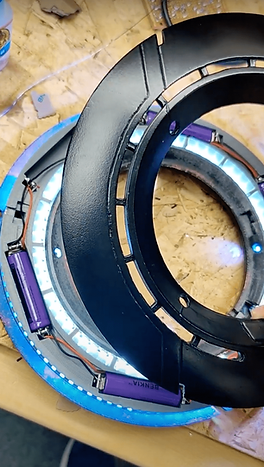
With the disc painted and dried, the only pieces left were the blade, C-ring, and inner-knub accent lights. The blade and C-ring were printed in translucent resin, which dissipates light from the LEDs perfectly. For the inner-knub pieces, I cut off the metal prongs of a white LED light, which fits in the knubs and acts as a light pipe for the actual RGB LEDs controlled by the Proffieboard.


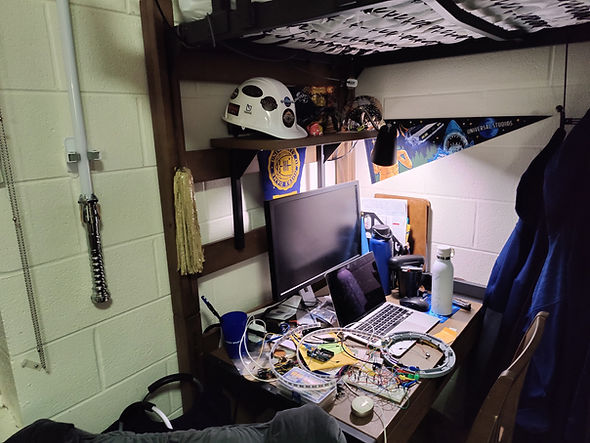
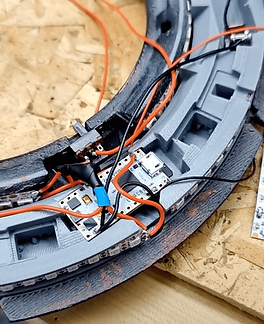
Wiring and Soldering
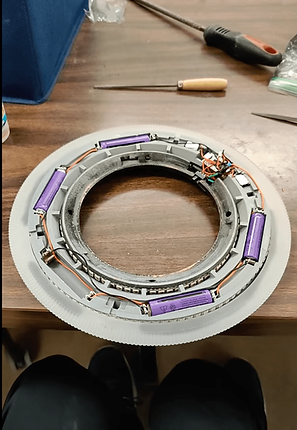
The disc's inner chassis had slots for five 14500 3.7V rechargeable lithium ion batteries. The plan was to wire them in parallel using small battery contacts from Digikey.


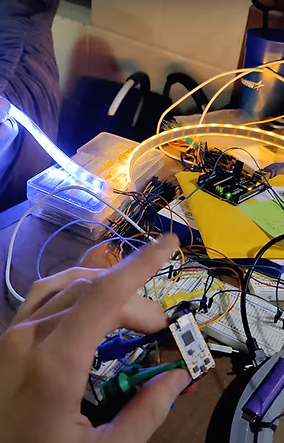
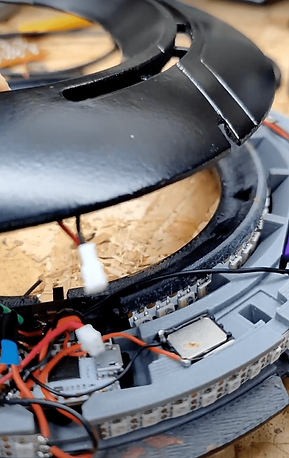
The next set of electronics to wire were the four knub LEDs, followed by the kill switch
Then, the inner C-ring LED strip was attached, at which point I began carefully soldering wires to the Proffieboard. I made sure to cut the wires as short as possible while still reaching where they needed to go, making sure to solder any wires coming from underneath the board first, and then soldering wires above the board.
The amount of space in the disc was much more minimal than I anticipated, and there were a few times I had to resolder sections of wire to make it all fit.
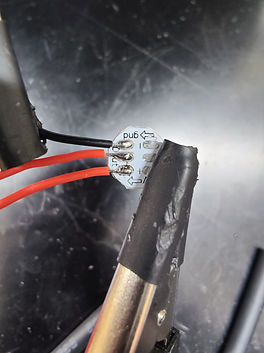
Other components that needed to be soldered were the two speakers, the blade LEDs, and the two buttons. In order to allow the halves of the disc to fully separate, I used a male/female connector for one of the buttons, which is the only electronic used on the other half of the disc.
When everything fit together and the disc turned on correctly, that was one of the most satisfying feelings I've ever felt. All of a sudden I felt like I could see the finish line after months of hard work. All that was needed was to attach the translucent pieces for the blade and C-ring.


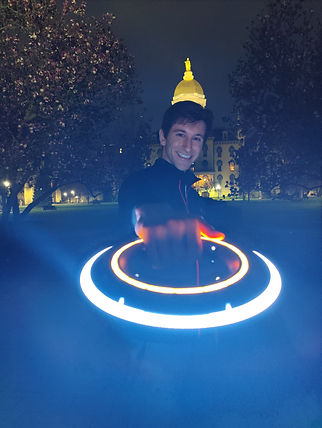
Photoshoot and Recap Video
With the disc finished, I gave it the photoshoot it deserved along with a full recap video of the whole build process. Towards the end of the video you can see all the different profiles in action.
This was incredibly fun and fulfilling to work on and I can't wait to do more builds in the future.


bottom of page